

Bet you didn’t know there’s more than one way to lace up a men’s dress shoe—time to step up your style game!

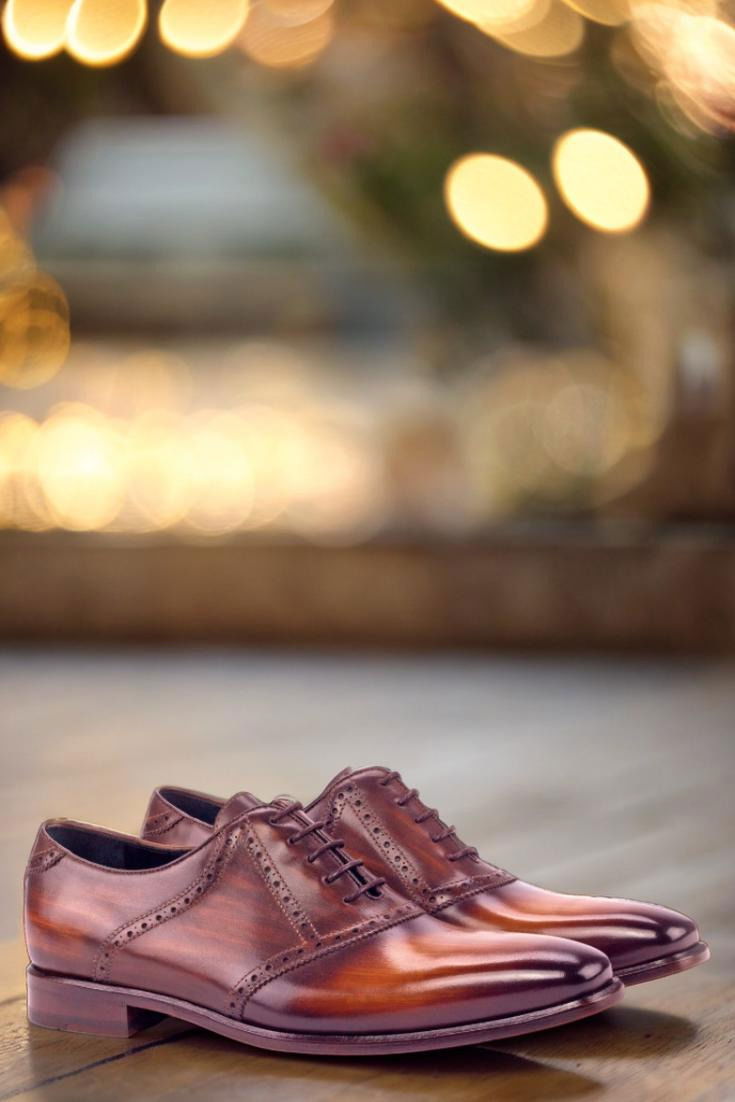
Dress shoes are a staple for formal occasions, work events, and holidays. While their design plays a significant role in completing your look, proper lace-tying etiquette can add that extra polish to elevate your outfit. Though it may seem like a small detail, the way you tie your laces can make a surprising difference.
The method you use will depend on the type of laces and shoes you own. Thicker laces often pair best with simpler tying techniques, while thinner laces may allow for more intricate styles. Many brands recommend keeping pre-laced shoes as they are for the most polished appearance. As for color, black or brown laces remain the classic choice, but vibrant hues are becoming increasingly popular among men looking to showcase their personality and flair.
Ready to master the art of lacing dress shoes? Keep reading for our step-by-step guide.

The criss-cross lacing technique is the most common method, especially for dress shoes. It’s simple, effective, and ideal if you want to tighten your laces for a snug, comfortable fit. This method also minimizes excess lace length, preventing loose ends from hanging as you walk.
To properly tie your laces, start by threading the lace through the bottom eyelets. Next, cross the left lace over and thread it through the right eyelet directly above. Then, do the same with the right lace, threading it through the left eyelet above. Continue this pattern until all the eyelets are laced. Repeat the process for the other shoe. Finally, adjust and tighten the laces to achieve your ideal fit.
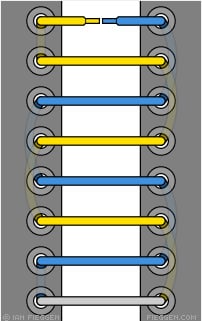
The straight bar lacing method is a classic and elegant technique, often used for dress shoes to achieve a clean, formal look. Unlike the criss-cross lacing commonly seen on casual sneakers, this approach enhances the sleek appearance of the shoe but comes with some limitations. Since the laces have minimal flexibility, adjusting or tightening them can be challenging if you don’t achieve the perfect fit on the first try.
Here’s how to master the straight bar lacing method:
By the end, you’ll have a neatly laced shoe with no visible laces except for the straight bars. This technique is perfect for adding a touch of sophistication to your formal footwear.

Double Helix lacing is a distinctive and stylish technique that brings a unique touch to your footwear. Inspired by the elegant structure of DNA, this less common method not only stands out but also makes for a great conversation starter. If you’re looking to elevate your shoe game with something a little different, the diagonal lacing method is an easy way to do so.
Here’s how to achieve this look:
With its bold, DNA-inspired design, diagonal lacing is an easy way to make your footwear stand out while adding a creative twist to your outfit.

Lattice lacing is one of the most intricate and visually striking ways to tie your shoes. While it requires patience and precision to master, the end result is a unique and eye-catching design that’s worth the effort.
To begin, position your shoe so it’s facing you and thread the laces through the bottom eyelets from underneath, keeping them hidden. Take the left lace and thread it through the third eyelet on the right, moving from the outside of the shoe toward the tongue. Next, take the right lace and cross it over to the third eyelet on the left, following the same direction. This creates the first “X” in the pattern.
Then, thread both laces upward into the next pair of eyelets, keeping them underneath the facing, to form parallel lines along each side. After that, take the left lace and cross it diagonally to the second eyelet from the bottom on the right, threading it from the outside toward the tongue. Repeat with the right lace, threading it through the corresponding eyelet on the left in the same manner.
Once again, lace both ends upward into the next pair of eyelets, maintaining the under-facing pattern. Finally, to complete the lattice design, weave the left lace over the lower left diagonal, under the upper left diagonal, and through the top right eyelet from underneath. Repeat this process with the right lace on the opposite side.
Though the steps may take some practice, the lattice lacing method creates a one-of-a-kind look that’s sure to stand out. With a little patience, you’ll achieve this stunning design in no time.

The vice versa lacing method is one of the most geometric and visually striking techniques, though it’s not commonly seen. This intricate style creates a unique pattern over the tongue of the shoe, giving it a distinctive and eye-catching appearance.
To achieve this look, start by threading the shoelace through the bottom eyelets from the outside in. Take the left lace and thread it diagonally through the right eyelet, then do the same with the right lace, threading it through the left eyelet. Ensure the laces pass under the facing, staying hidden beneath the surface.
Next, form a straight bar by threading the left lace through the next left eyelet, then repeat the process on the right side. Continue alternating in this pattern, weaving the laces diagonally and then horizontally, until you reach the top. Finally, pass the laces through the top eyelets from underneath the facing for a clean and polished finish.

The Over Under method is a simple yet effective way to keep your laces secure while adding a stylish touch to your shoes. This technique creates neat, symmetrical Xs over the tongue for a fun and polished look.
To get started, thread the laces through the bottom eyelets from the outside, forming a straight line across the bottom. Next, take the left lace and feed it through the right eyelet, then back into the left eyelet, ensuring the lace passes under the facing for a clean, invisible appearance. Repeat this step with the right lace, threading it through the left eyelet and then back into the right eyelet, this time passing the lace over the facing toward the tongue.
As you form an X with each pair of eyelets, repeat the process until only one pair of eyelets remains. For the final step, thread the laces through the last eyelets from underneath the facing for a seamless finish.
Want even more ways to lace your shoes? Check out the guide at Ian’s Shoelace Site

When it comes to finding the perfect shoe fit, there’s no one-size-fits-all answer. While there are objective factors to consider, the ideal fit is ultimately
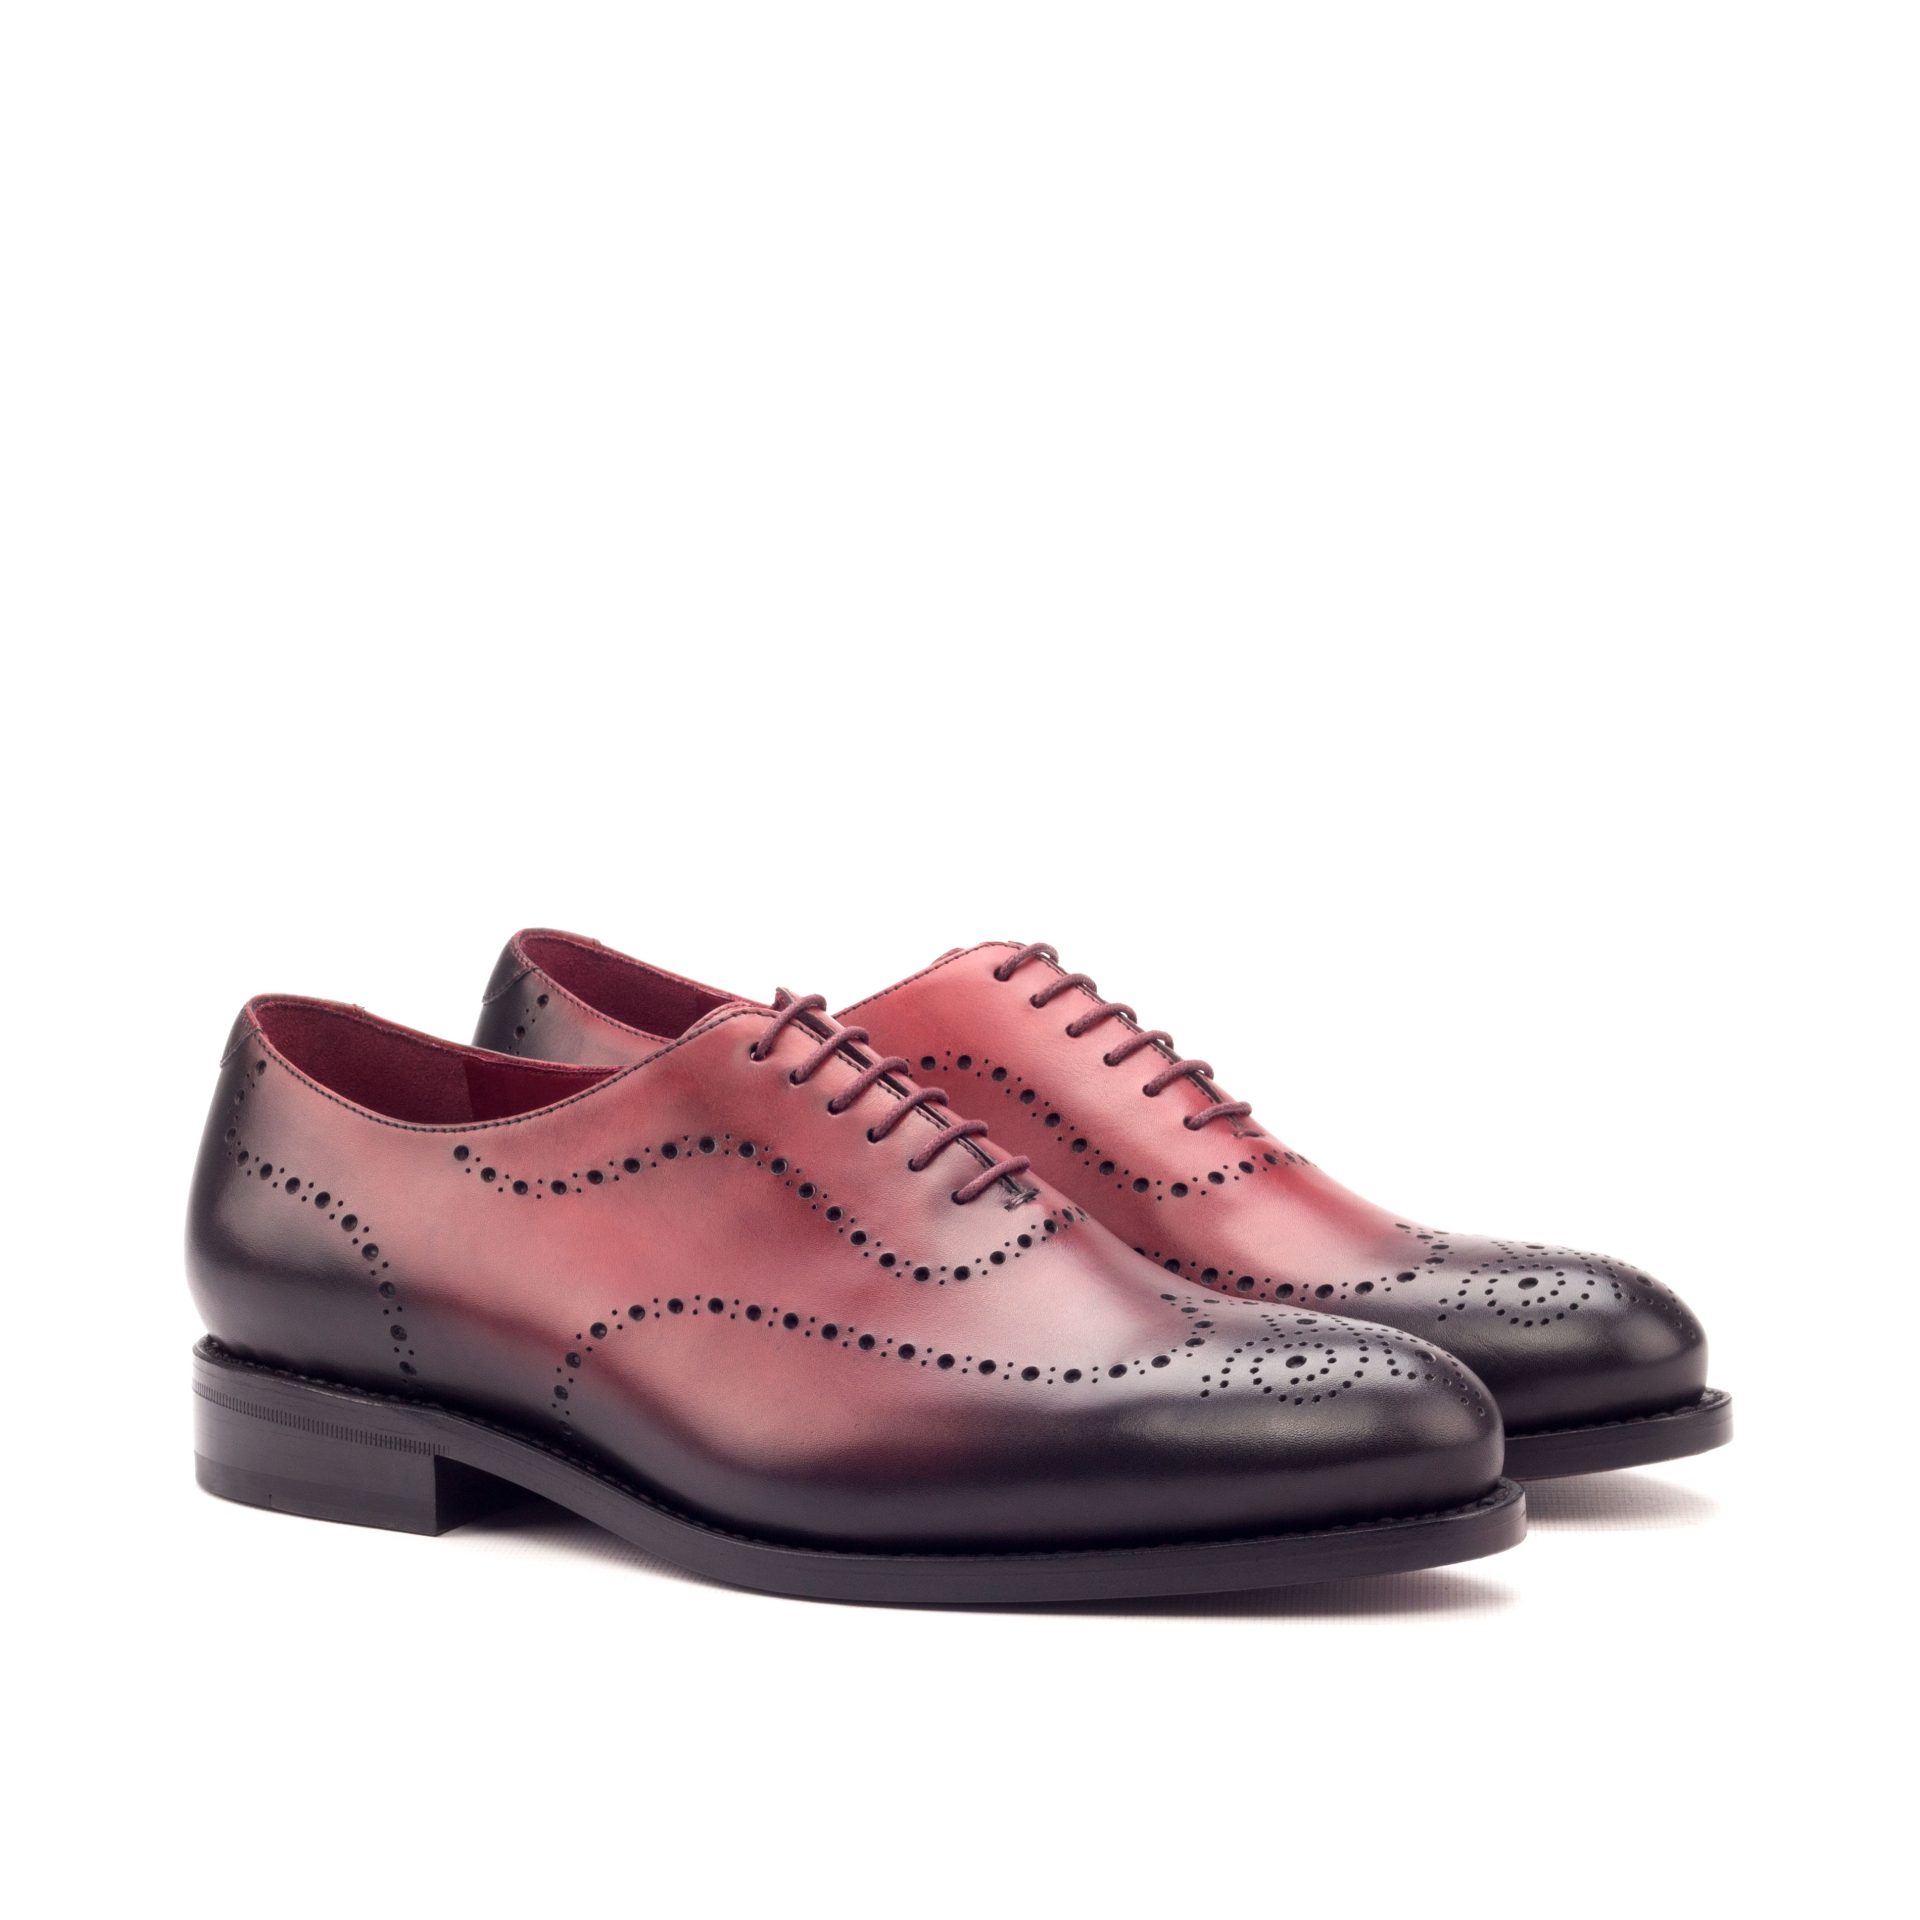
Ever wondered why wholecut oxfords often come with a higher price tag compared to other styles in the oxford family? At first glance, it might
Bet you didn’t know there’s more than one way to lace up a men’s dress shoe—time to step up your style game! Dress shoes are
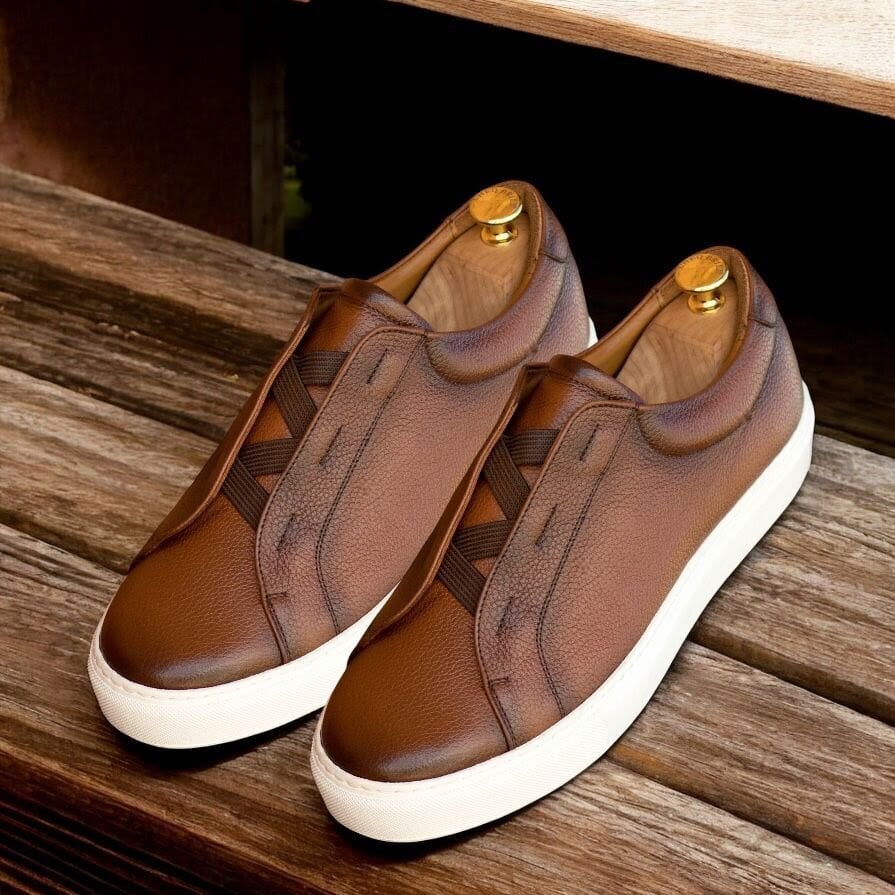
We’re thrilled to introduce the Cambridge Ave. Laceless Trainer, a sleek and innovative addition to our footwear collection that perfectly balances modern design with effortless