

Last Updated: October 21, 2026
A shoe made to your exact measurements fits differently from anything off a shelf, and it lives or dies on the numbers you send your maker.
At Robert August, we build every pair to order, handcrafted in Spain, so the measurements you take at home are the blueprint our makers work from.
The stakes are higher than most people expect. A standard size chart collapses your foot into one length and one width; a custom last needs length, width, girth, and the shape of each foot separately.
Gather your tools before you start. A short supply list keeps the process clean and repeatable.
Skip thick socks unless that is how you will wear the finished pair. Measuring barefoot gives the cleanest reading; if you always wear thin dress socks, measure in those and note it for your maker.
You do not need special equipment. A ruler and paper do the job, though a soft tape measure helps with girth. Keep everything on one flat surface so nothing shifts mid-measurement.
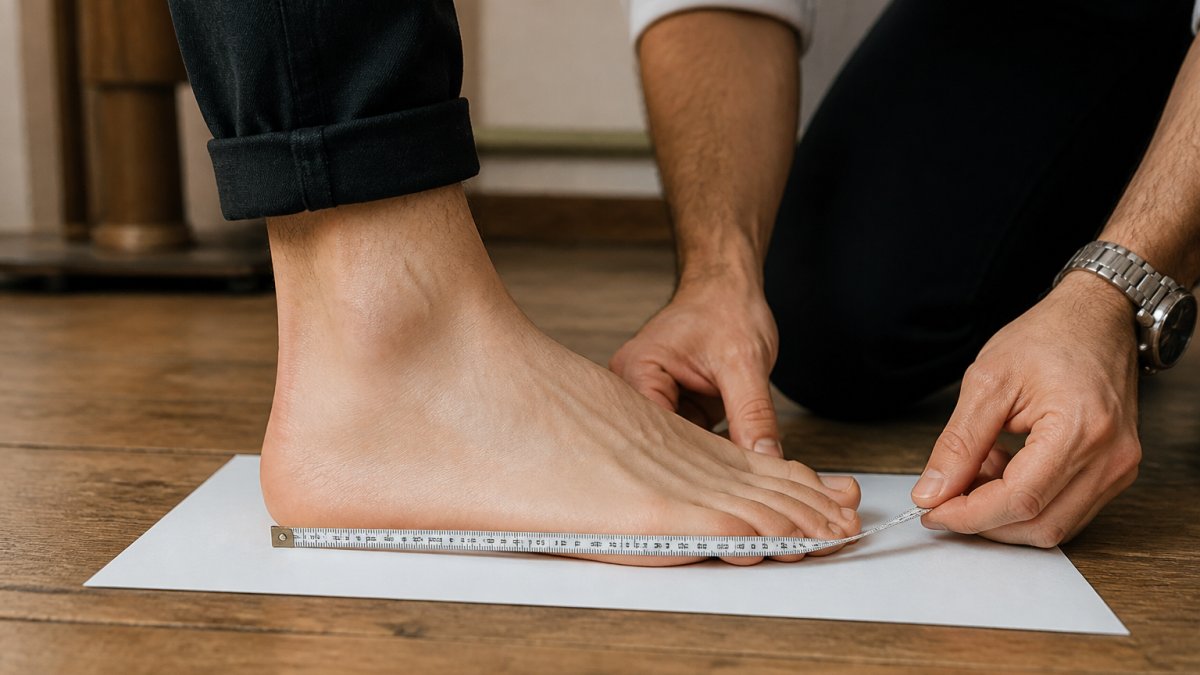
Foot length is the distance from your heel to your longest toe. Measure it standing, because feet spread under body weight. Here is the sequence we recommend.
Measure to the nearest millimetre, a few millimetres of extra length changes how the toe box sits.
Do not pull the tape tight or let it sag. Keep it flat and straight. Write the number down immediately, before you forget which foot it came from.
Width is where most home measurements go wrong. The widest point is across the ball of the foot, not the middle or the heel. Measure it while standing.
Record the width for each foot. Note whether you measured barefoot or in socks. Your shoemaker needs to know which.
Some feet are wider at the ball and narrow at the heel, a common shape worth flagging.
Girth is the full distance around your foot at its widest part.
Wrap a soft tape measure around the ball of your foot, over the instep and under the arch, level and snug.
Girth captures volume, not just width. Two feet can share the same length and width but differ in height and arch. Girth catches that difference.
Record the instep height too if your maker asks, some request a second girth reading around the instep, just above the ball. Send both if you can.
A custom shoe measurement chart is a reference tool, not a sizing machine.
On a retail chart, a length and width land you in a box, and the box is the shoe.
Use the chart for three things:
| Measurement | Where to Measure | Standing or Seated | What It Informs |
|---|---|---|---|
| Foot length | Heel to longest toe | Standing | Last length, toe room |
| Foot width | Across the ball | Standing | Forefoot fit, last width |
| Ball girth | Around the ball and instep | Standing | Volume, instep comfort |
| Instep girth | Around the instep, above the ball | Standing | Top-of-foot clearance |
| Heel width | Across the back of the heel | Standing | Heel hold, slip prevention |
| Arch length | Heel to ball | Standing | Last shape, support point |
The table lists six measurements, not four.
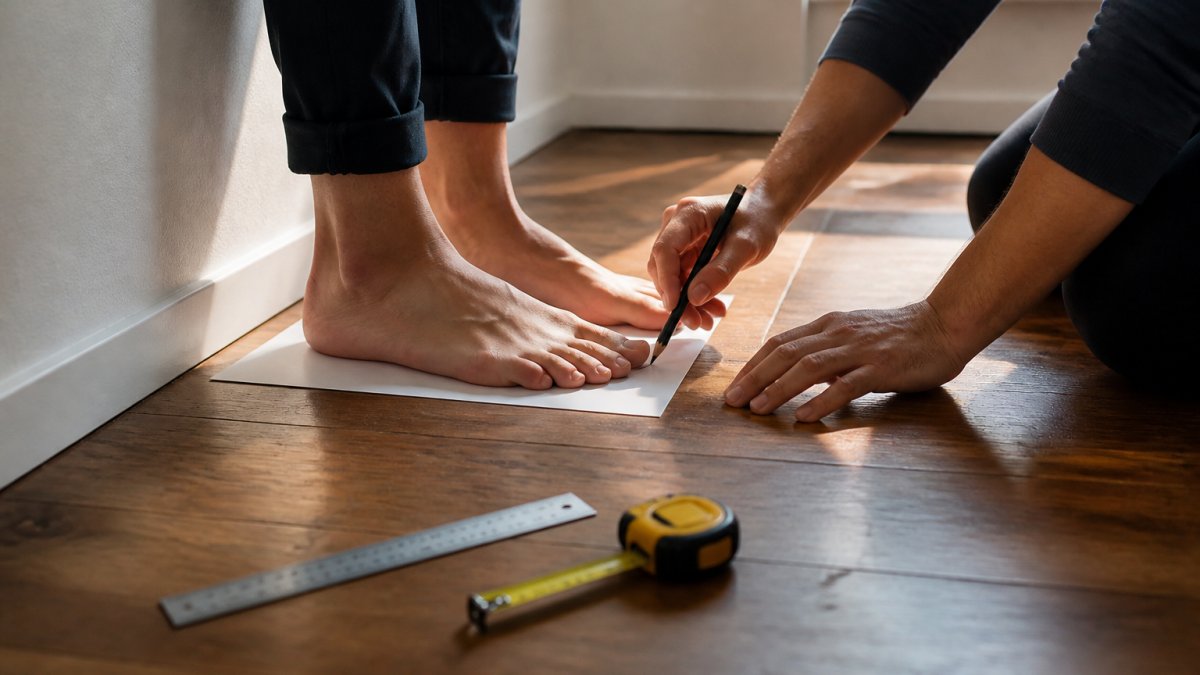
Many bespoke makers also ask for a tracing of each foot. It captures toe shape, bunion profile, and the curve of the arch in a way no tape measure can.
Research on virtual try-on systems, such as work published in the Informatics journal study on foot-detection measurement, shows that combining several foot dimensions produces a far better fit than length alone.
Most bad measurements come from a handful of repeatable errors:
The pencil angle matters more than people think. A pencil leaning outward adds length to your trace. Hold it upright or slightly inward.
Do not round your numbers. Send them exactly as measured, to the millimetre. Your maker can interpret precision. They cannot recover information you rounded away.
Your numbers are only useful if your maker can read them, trust them, and act on them. That means submitting a repeatable, clearly labeled record and closing the loop with a fitting or trial shoe before production.
Before you send anything, run your measurements twice on separate days, ideally one in the morning and one in the evening. Feet swell over the course of a day, so two readings give your maker a range rather than a single snapshot. If the sets differ by more than a few millimetres, re-measure a third time and send all three with a note.
A simple worksheet keeps this organized. For each foot, record:
Label every line left or right. A maker who receives two unlabeled sets of numbers has to guess, and guessing defeats the purpose of custom work.
Photos catch what numbers miss, toe shape, bunion profile, arch height, and how your foot sits on the paper. Include:
Keep the camera directly above the foot for the top-down shot. An angled phone adds perspective distortion and makes the tracing look longer or shorter than it is.
Alongside the worksheet and photos, include:
Ask your maker how they want the numbers formatted. Some prefer a filled-in form, others a simple list, and some want the tracing mailed physically. Following their format speeds up the build and reduces transcription errors.
A good maker will confirm receipt and may ask follow-up questions before cutting leather. Treat that exchange as part of the measurement, not an inconvenience. If your numbers look inconsistent, say, a length that does not match your girth, a careful maker will flag it rather than build to a bad reading.
Measurements inform a last, but they do not guarantee fit on their own. Many bespoke makers offer a fitting or a trial shoe in a less expensive material before building the final pair, use it.
If a trial shoe is not part of your maker’s process, ask about their adjustment policy before you order. Knowing how pressure points are resolved, a last adjustment, a stretch, a remake, sets realistic expectations and tells you what to watch for when the shoes arrive.
That is the full loop: measure twice, record every dimension, photograph the shape, label both feet, confirm with your maker, and validate the fit before the final pair is built. Do that, and your custom pair has the best possible chance of fitting the way it should.
Guidance differs on this point. A Naples podiatry guide recommends measuring while standing because feet flatten and spread under body weight, while bespoke outline instructions from The Shoe Snob suggest sitting normally with feet firmly on the ground without adding full body weight. The research does not establish which method is best for custom-shoe measurements. For consistency, pick one method and use it for every measurement you submit to your shoemaker.
Yes. Most people have one foot slightly larger than the other, and custom shoes are built to accommodate that asymmetry. Measure both the left and right foot separately, then record each set of numbers. Your shoemaker will use the larger foot as the base and adjust the smaller one accordingly. Never average the two feet into a single measurement, as this can produce a fit that is too tight on one side.
A custom shoe measurement chart typically requires foot length from heel to longest toe, foot width at the widest point (the ball of the foot), and foot girth around the instep. Some makers also ask for heel width, arch length, and a traced outline of each foot. Researchers publishing in Informatics in 2023 described a virtual try-on system that combined seven foot dimensions, which shows how many data points a precise fit can involve. Follow your shoemaker’s specific chart.
Measure your feet later in the day, when they have had time to swell from walking and standing. Feet expand over the course of the day, so a morning measurement can come out smaller than your true size. Wear the socks you plan to pair with the shoes, and take each measurement two or three times to confirm repeatability. Recording the date and time alongside your numbers helps your shoemaker interpret any variation.
Getting the measurements right is the first step. The second is choosing a maker who knows what to do with them. At Robert August, every pair is made to order and handcrafted in Spain, so your numbers become a shoe built around your foot, not a standard last. Our made-to-order process lets you shape the style, leather, and fit to match how you actually live, with free shipping worldwide. Browse our collection and start your pair with measurements you can trust.

Learn how to measure feet for custom shoes with our step-by-step guide. Get accurate length, width, and girth measurements for a perfect bespoke fit.
Discover luxury handmade shoes for business in 2026. Compare construction, leather, fit, and care across Robert August’s handcrafted Spanish collection.
Learn how to design custom golf shoes that fit properly, perform on the course, and reflect your style. A practical step-by-step guide for golfers.
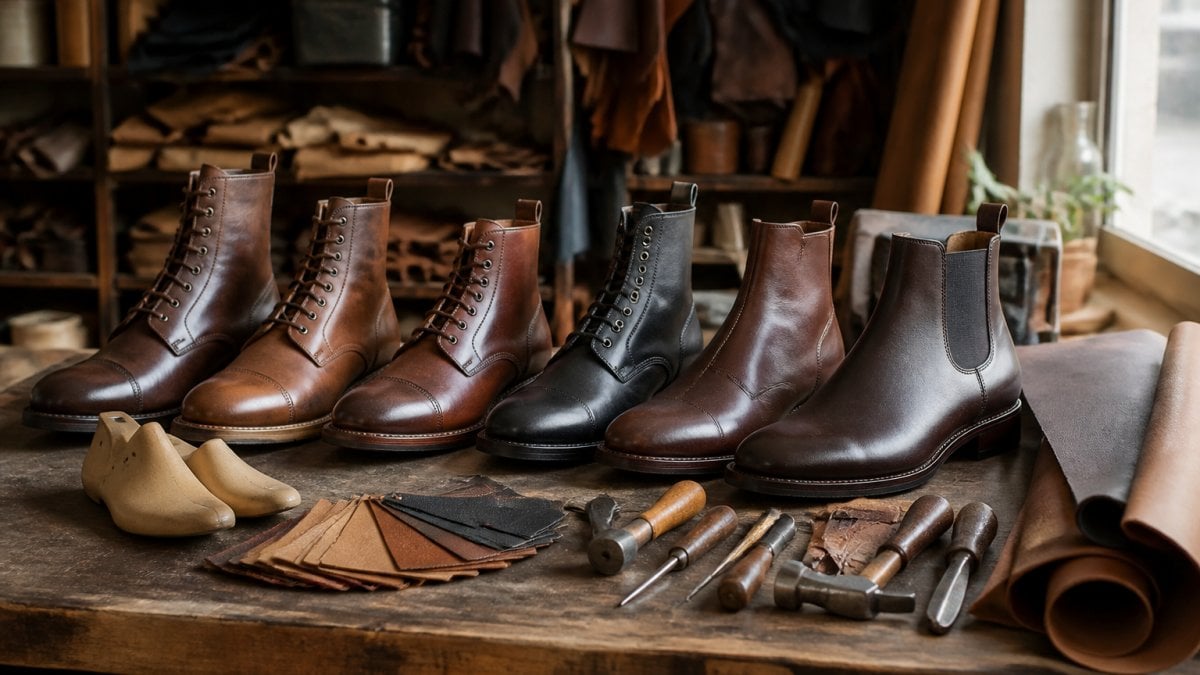
Discover the best premium made to order boots for 2026, handcrafted in Spain with Italian leather and Goodyear welt construction. Prices start at $399.